
Ubisoft Connect, formerly known as Uplay, is a comprehensive gaming platform developed by Ubisoft that allows players to access a wide range of Ubisoft games, track their in-game progress, connect with friends, and participate in various gaming events.
If you’re an avid gamer and want to experience the full potential of Ubisoft’s gaming ecosystem, installing Ubisoft Connect on your Windows PC is the way to go.
In this step-by-step guide, we’ll walk you through the process of installing Ubisoft Connect on your computer.
Watch: How To Create Ubisoft Account
How To Install Ubisoft Connect App On Windows PC
First, head over to the official Ubisoft Connect page to initiate the download process. Look for the prominent “Download For PC” button and click on it to get the Ubisoft Connect installer.
At this point, the Ubisoft installer will begin the downloading process. Once done, find the installer file, usually named “UbisoftConnect.exe,” in your downloads folder. Double-click the installer to begin the installation process.
Follow the on-screen instructions presented by the installer. You might be required to accept the End User License Agreement (EULA) and choose the installation location. Stick with the default installation path unless you have specific preferences.
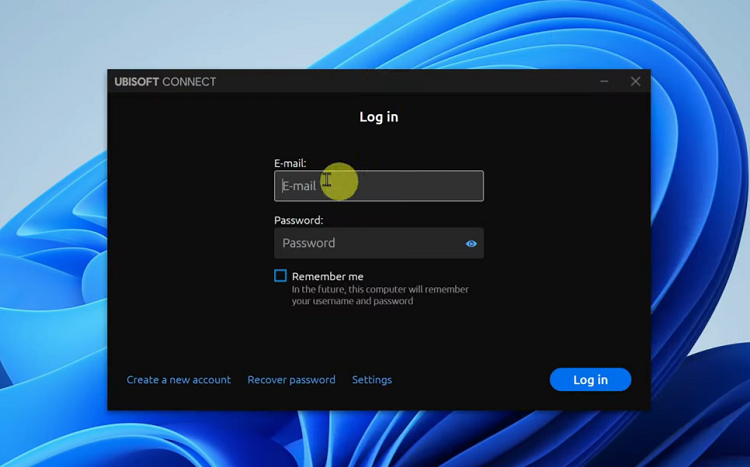
From here onwards, wait for the installation process to complete. Once it’s done, launch Ubisoft Connect either from the Start menu or the desktop shortcut. If you already have a Ubisoft account, log in using your existing credentials. If not, hit “Create an Account” to register for a new one.
And that’s how to install the Ubisoft Connect app on your Windows PC. If you have any questions or suggestions, let us know in the comment section below. If you found the article helpful, consider sharing it with someone who needs it.
Source link