Apple’s newfound love for bold aesthetic refinements in iOS 16 has continued with iOS 17, which is currently in the public beta phase and will be released widely in the coming months. One of those upgrades happens to be Contact Posters. In a nutshell, it’s essentially a glorified contact card, but with some artistic full-screen pizzazz thrown into the mix.
In fact, if you’ve played around with the iOS 16 home and lock screen customizations, you will find yourself right at home with creating and editing a Contact Poster. It may sound like a vanity feature, but when the screen lights up with a call notification and you see a full-view picture of the caller and their name styled per your own taste, it gives quite some gratification.
Nadeem Sarwar / Digital Trends
How to create a Contact Poster in iOS 17
The whole process of creating a Contact Poster is fairly easy. You can create a Contact Poster for your own number, or any other acquaintance in your contact list.
Another neat convenience that comes with Contact Posters is that you can share them by just bringing two iPhones close to each other. It also works if you tap your iPhone against an Apple Watch.
For this guide, we’ll go through the step-by-step process of creating a contact poster for fellow Digital Trends contributor Tushar Mehta. The process is identical if you are creating a contact poster for yourself. To do that, just tap on your name when it appears at the top of the contacts list in the Phone app.
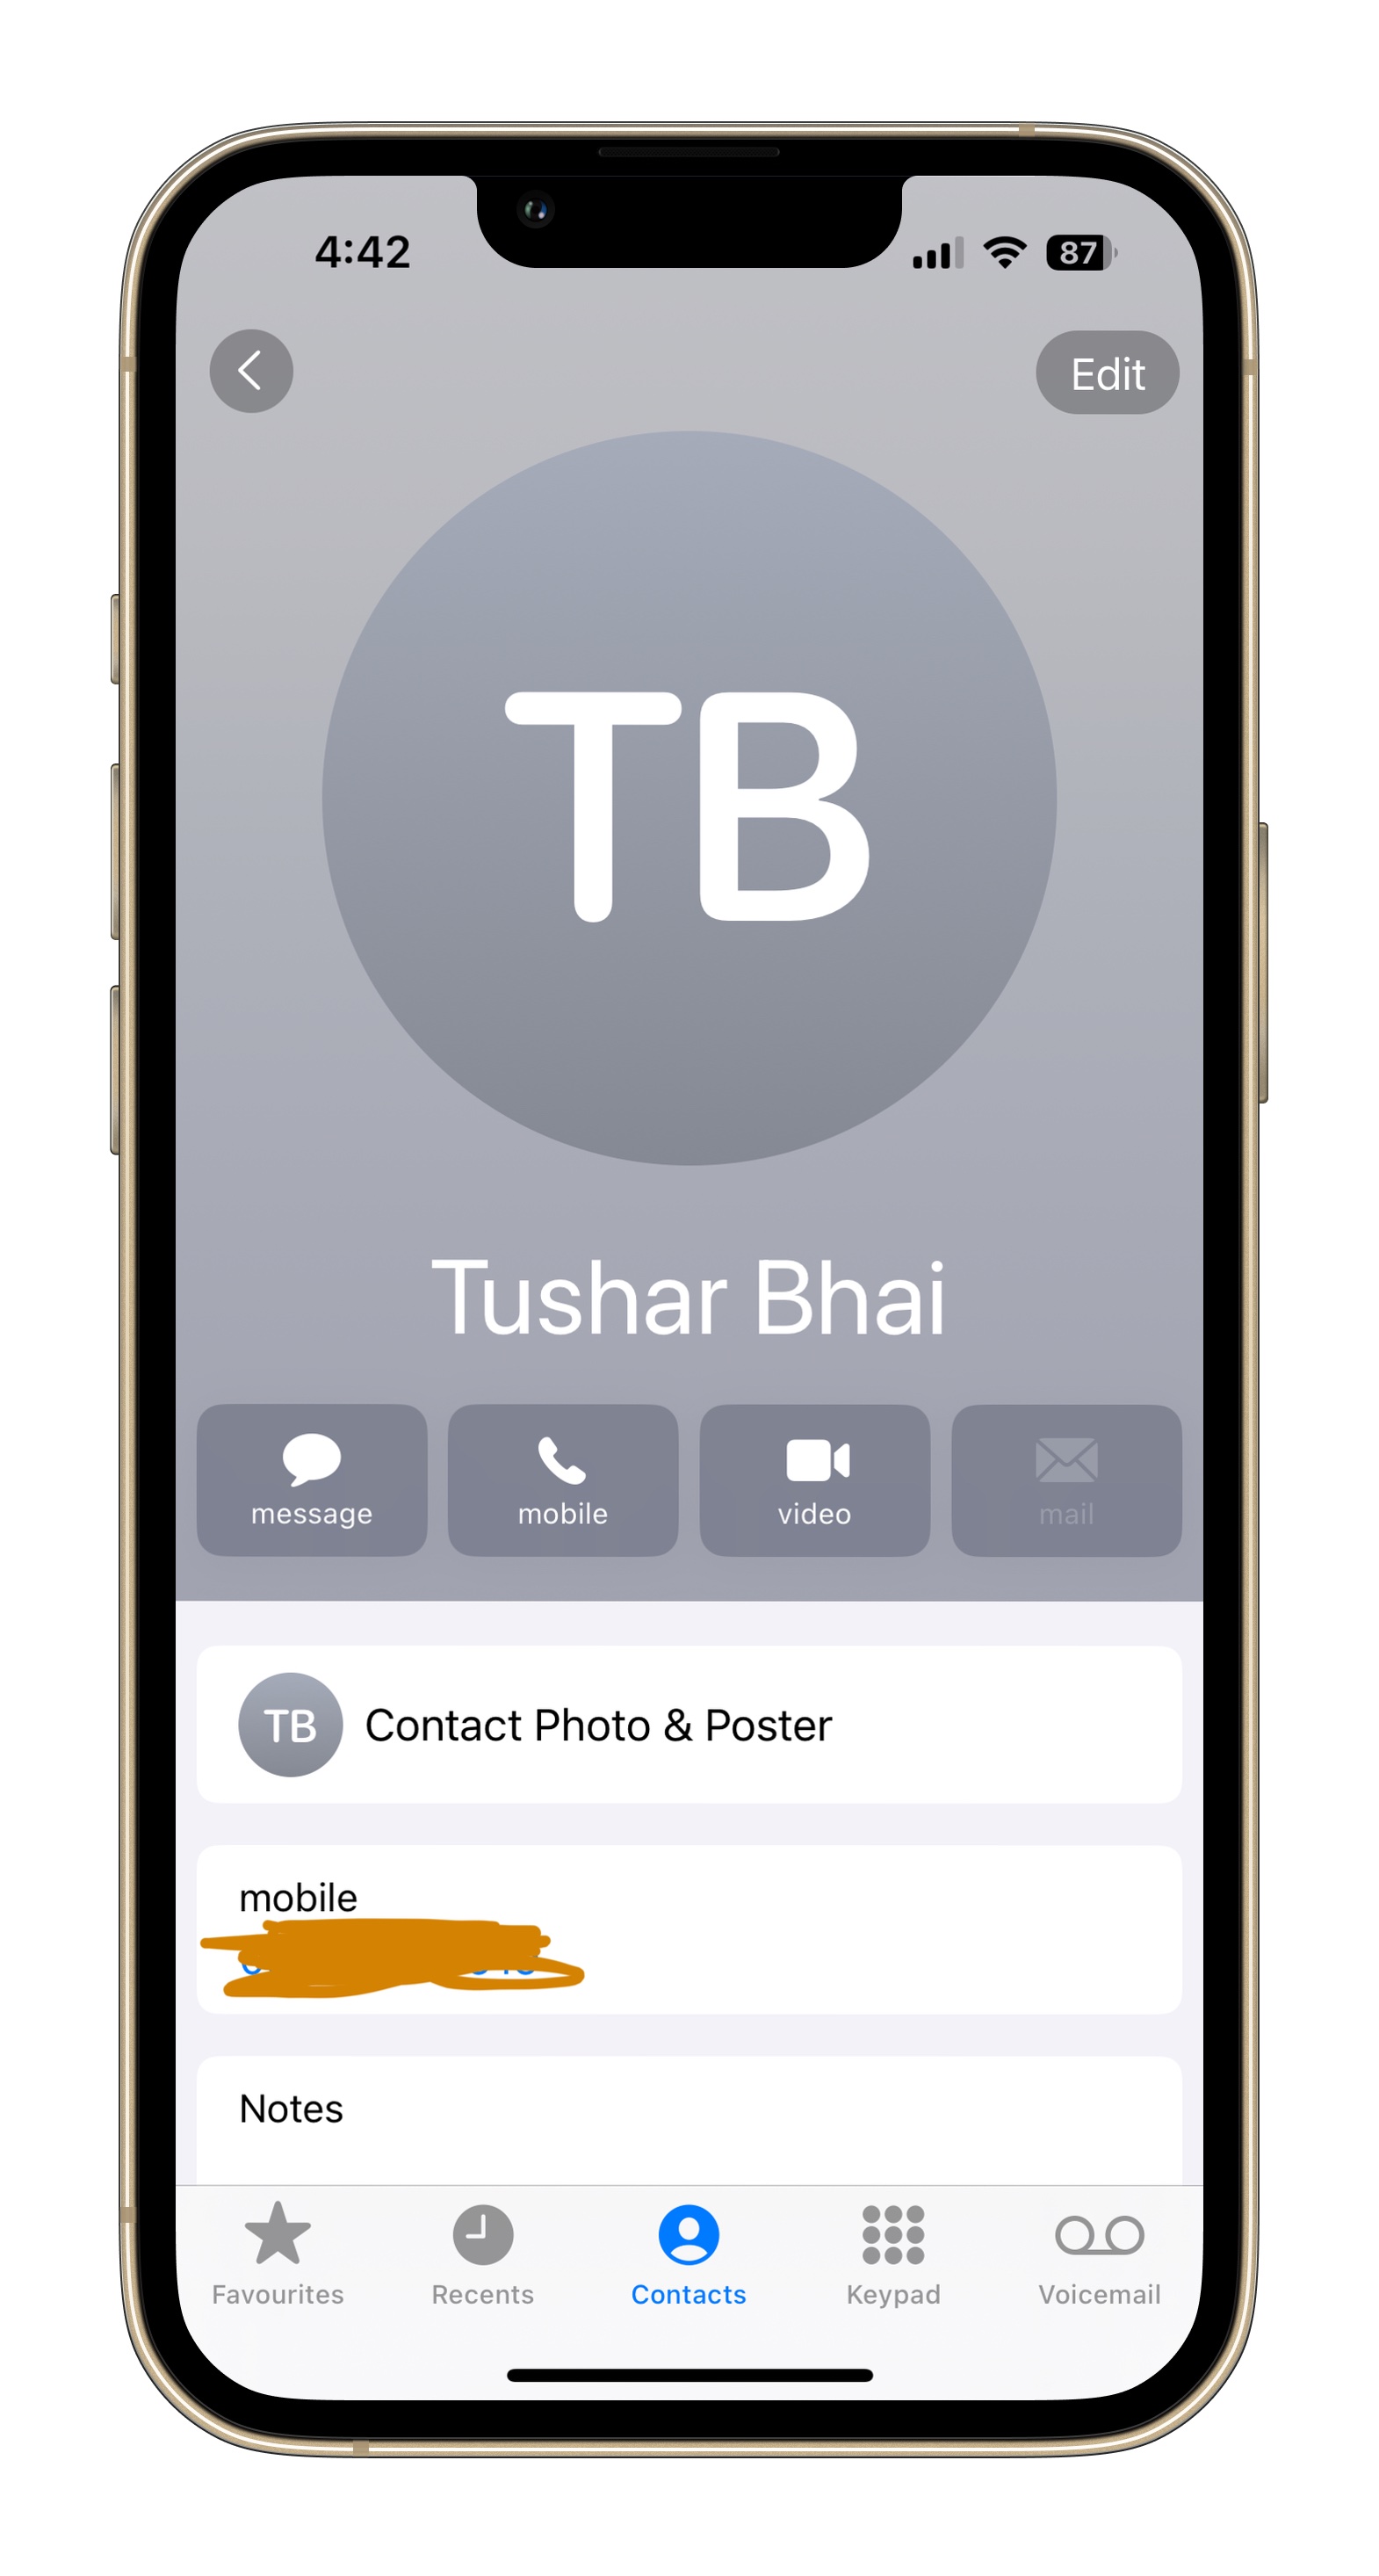
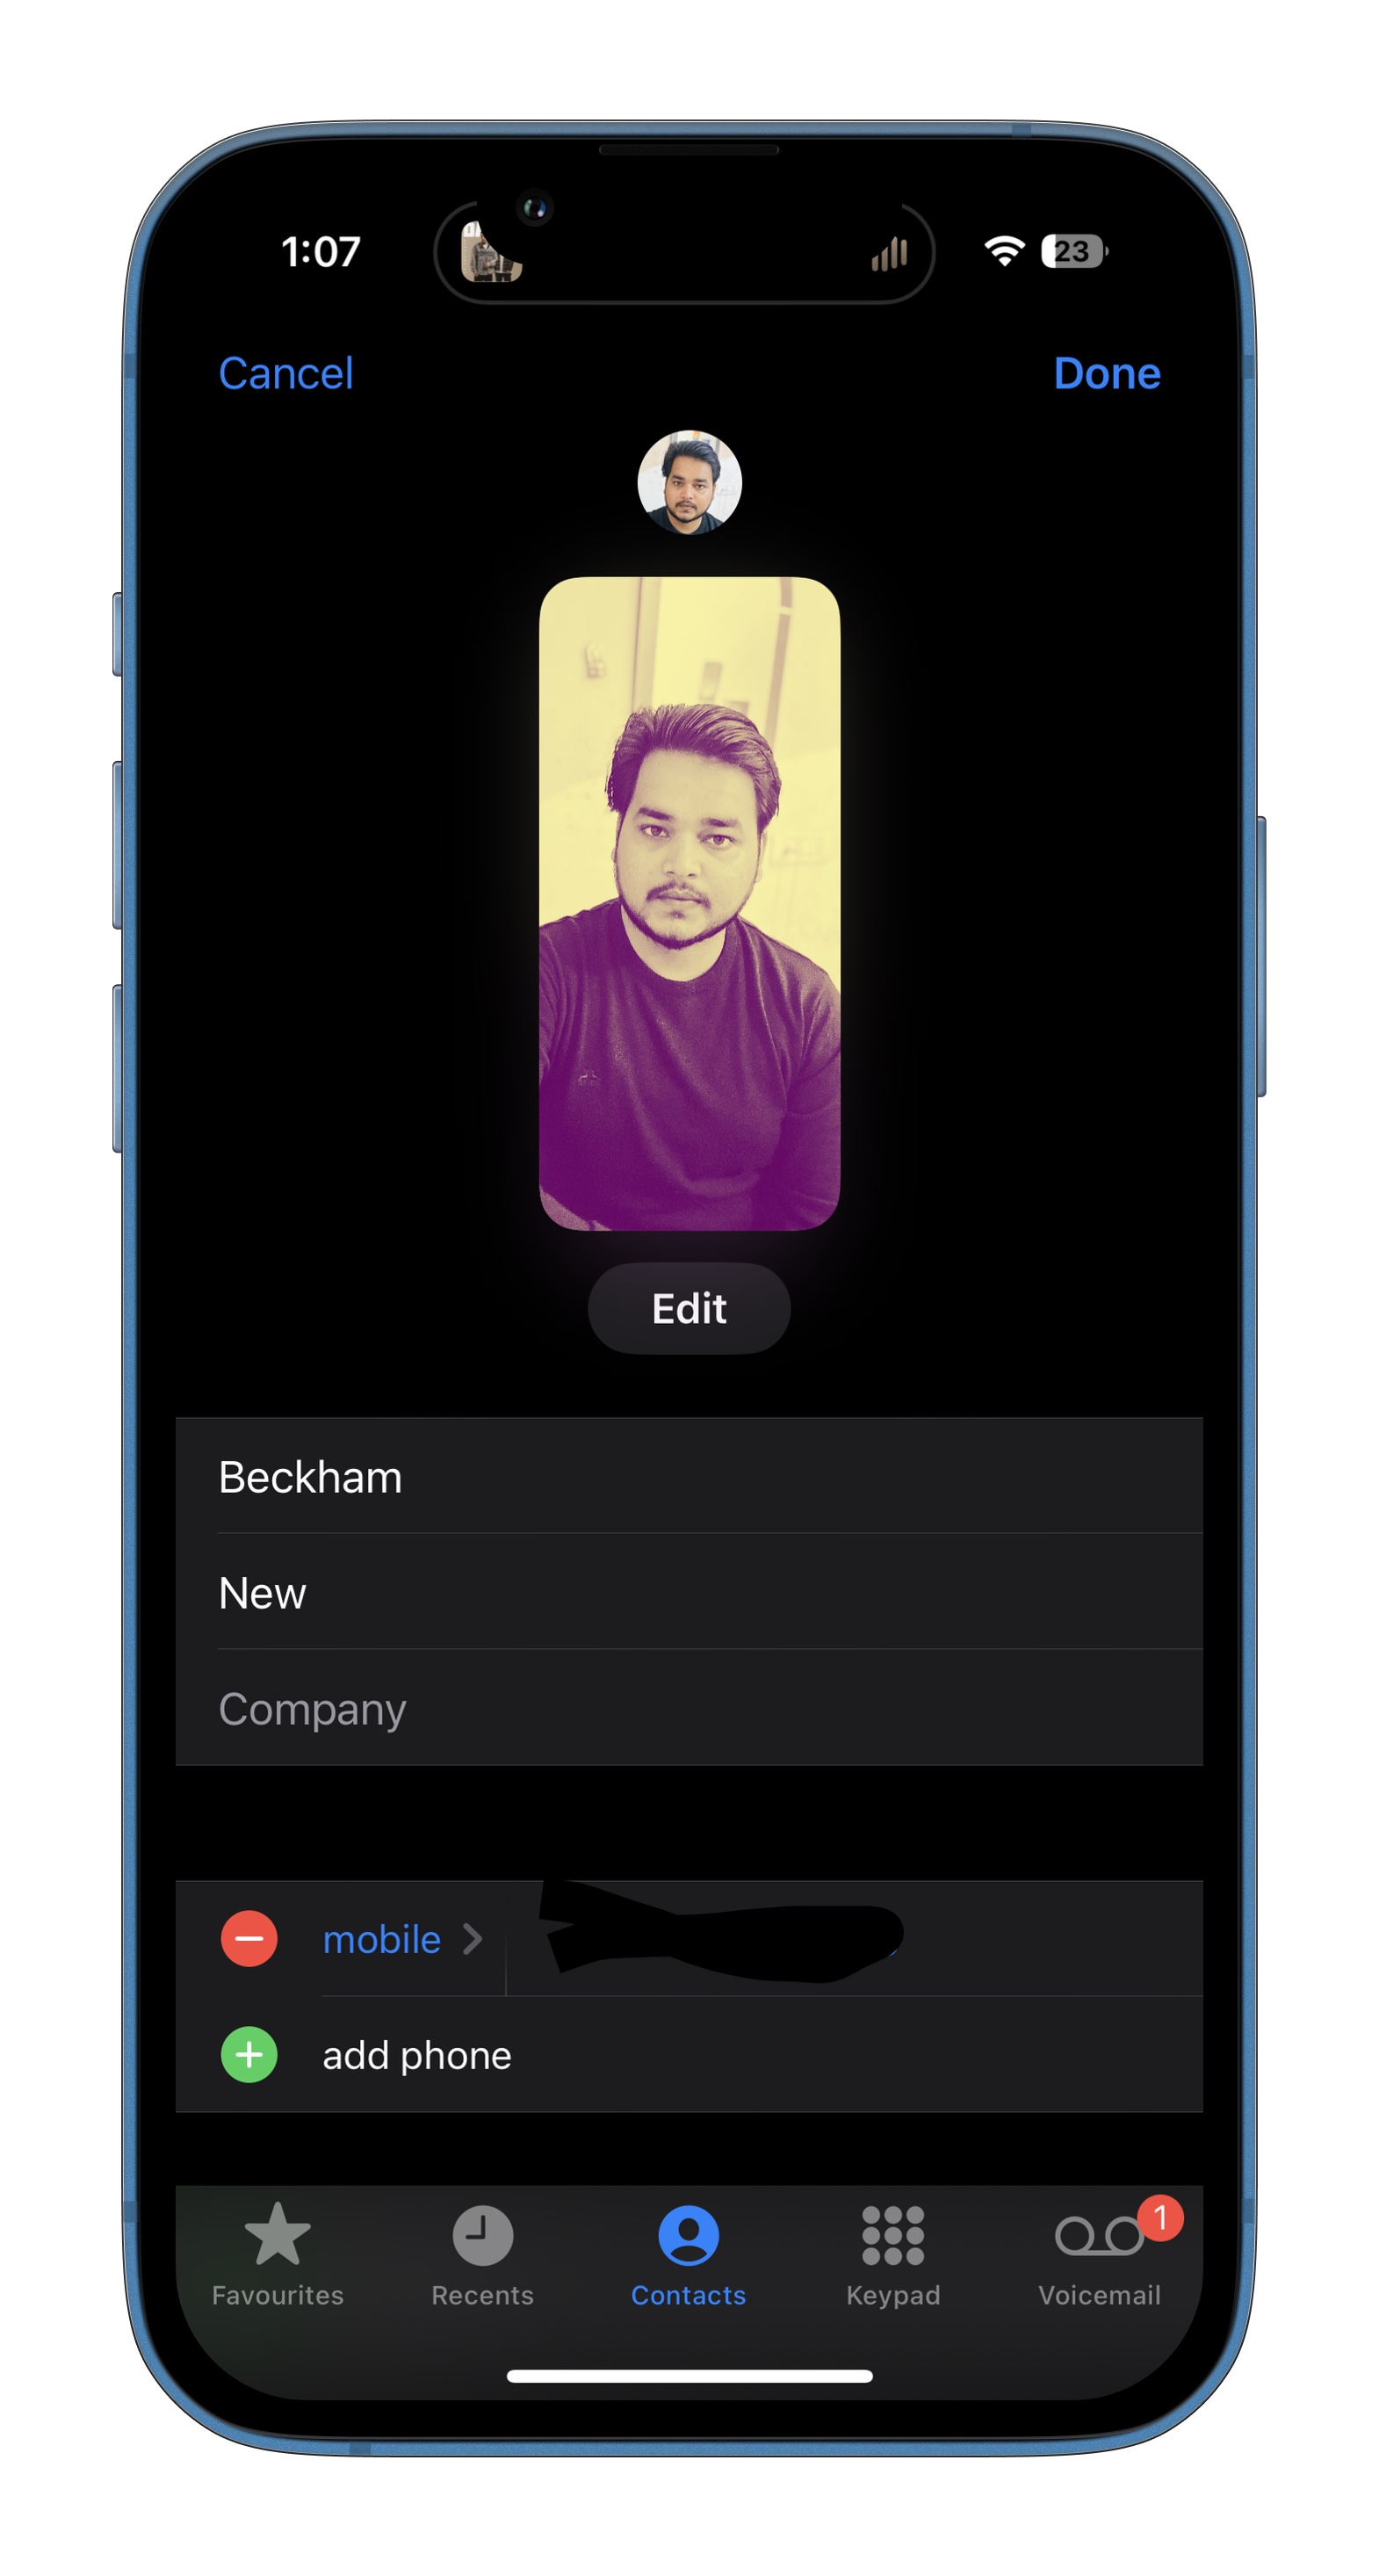
Step 1: Open the Phone app on your iPhone and select the contact that needs a poster makeover. As you tap on a name, it will open the detailed contact page as shown in the image below.
Step 2: On the contact page, tap on the Edit button in the top-right corner of the screen. On the next page, either tap on the circle with the contact name initials, or the pill-shaped Add Photo button.
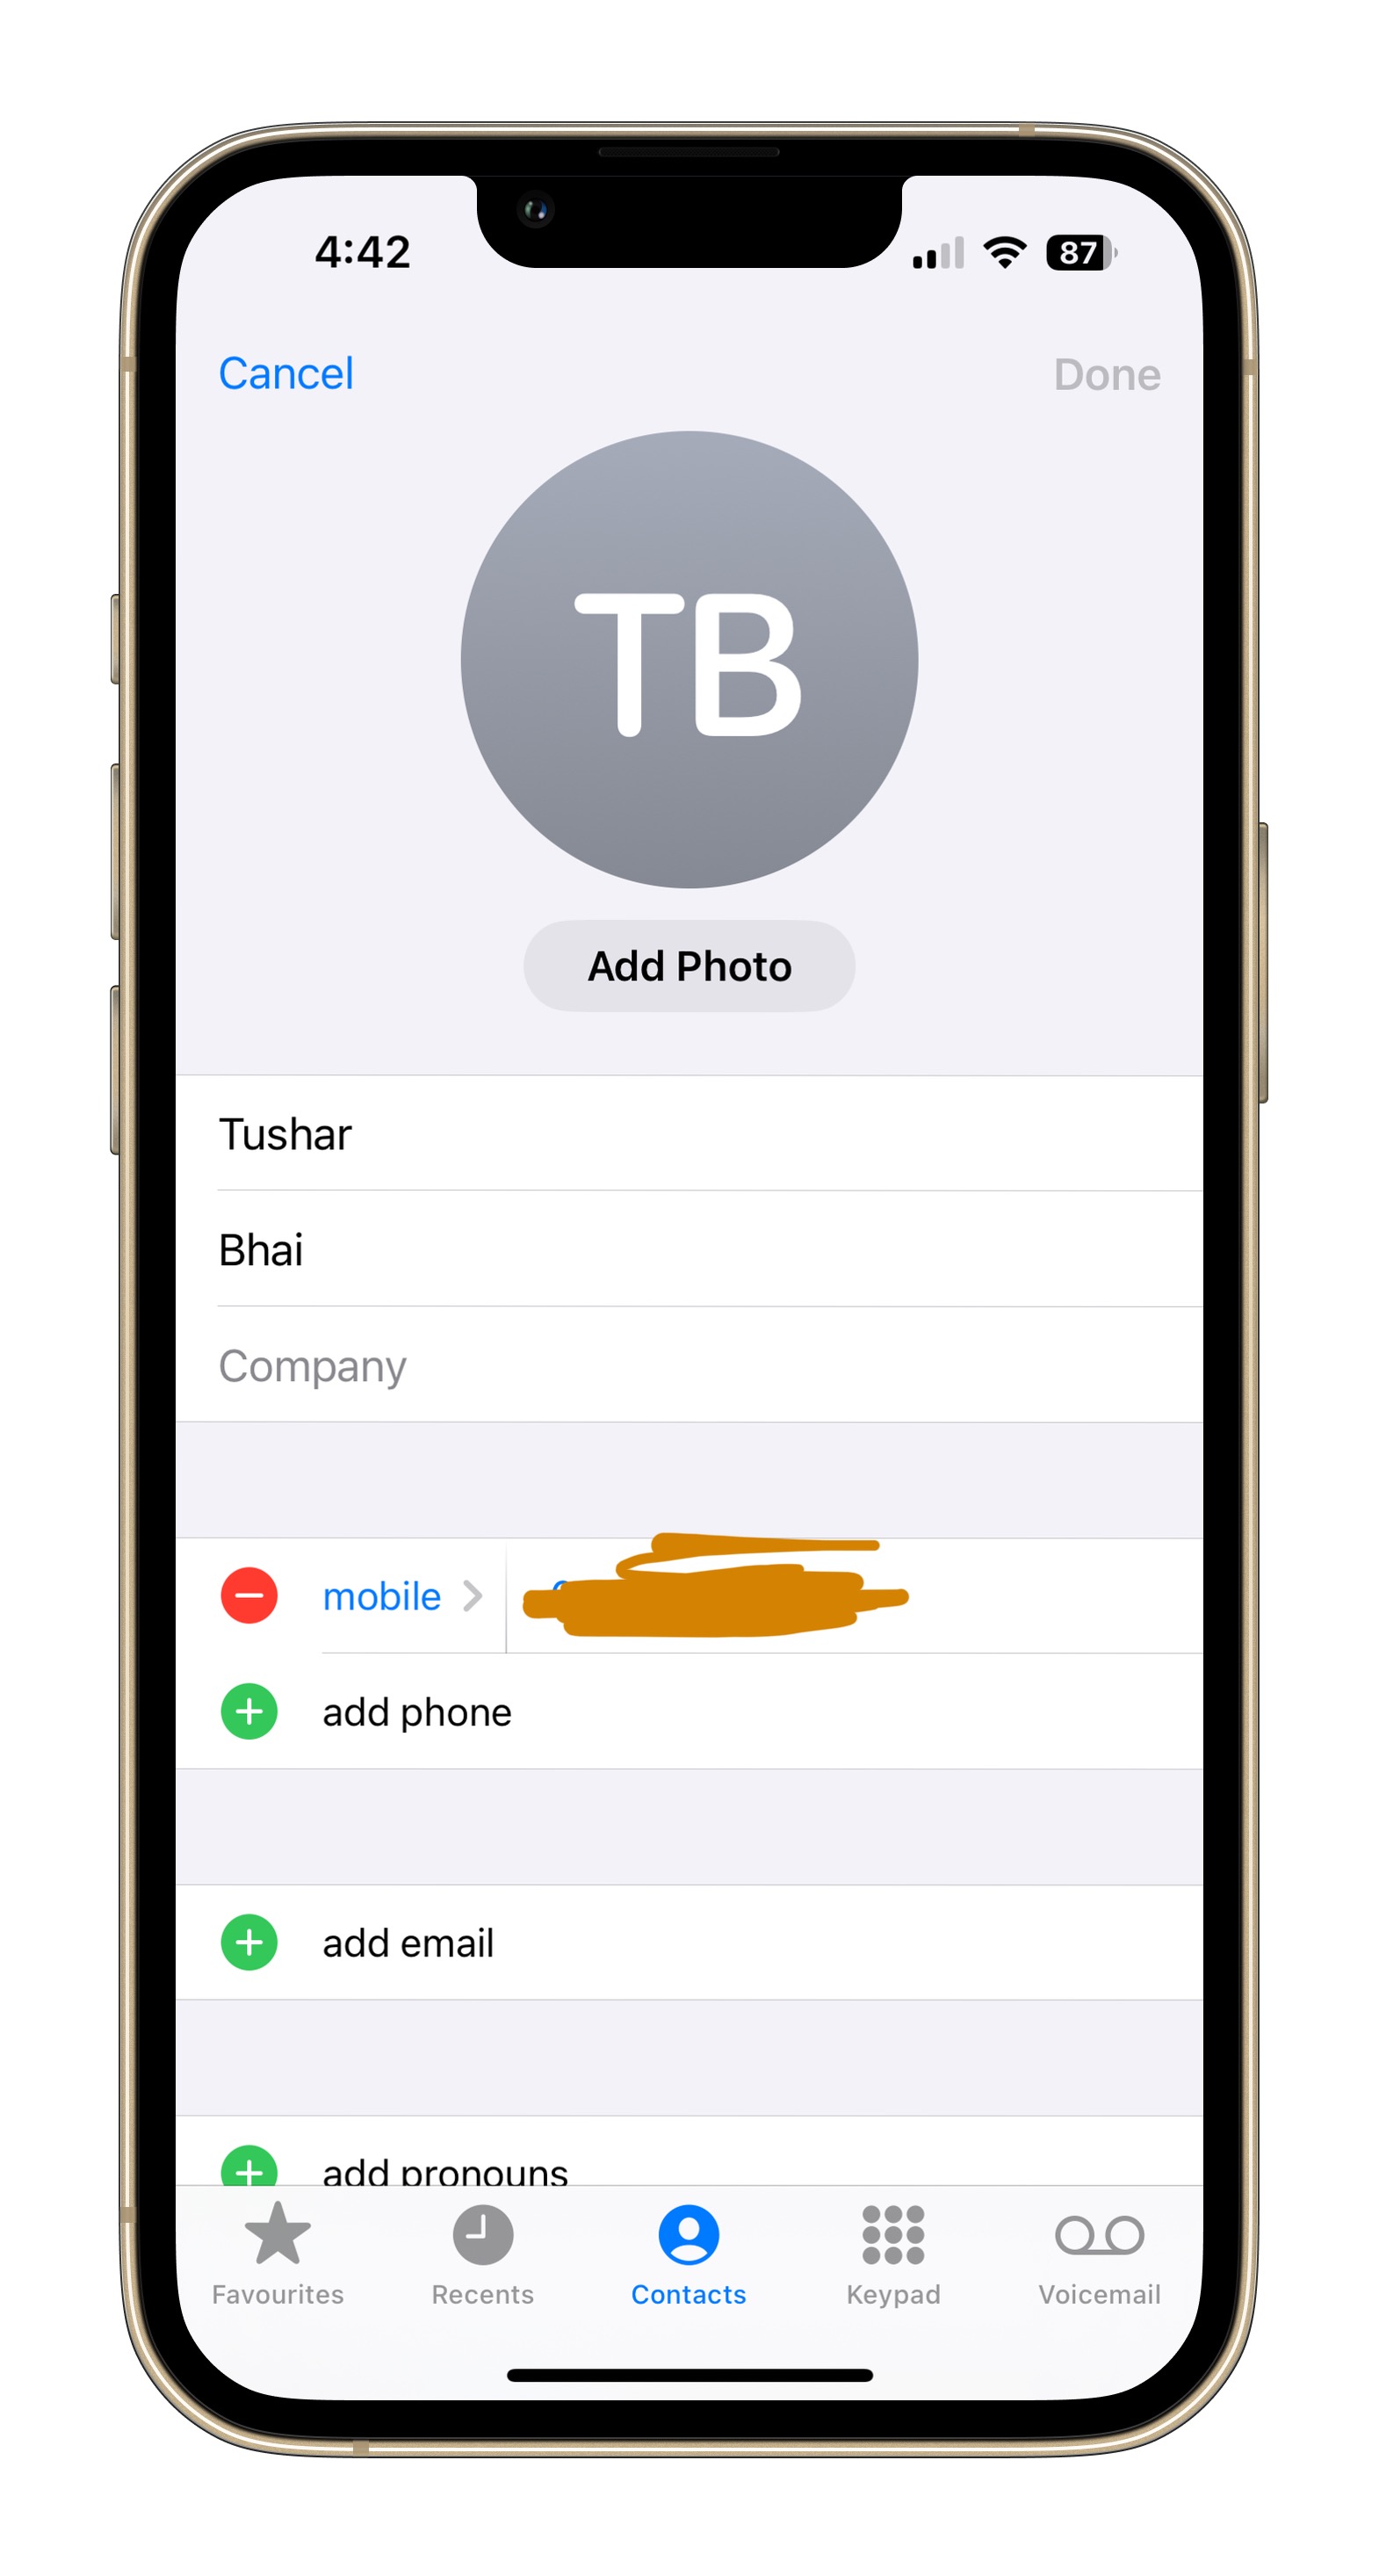
Step 3: As you land on the editing page depicted below, tap on the round Photos button. Alternatively, you can use a Memoji, monogram, or an emoji. Do keep in mind that this is not the Contact Poster photo you are picking. Instead, it’s the picture that appears as a round thumbnail in your contacts list.
If you are designing a contact poster for your own number, the thumbnail image will already be there, pulled from your iCloud Drive. It’s the same image that you picked up while setting up an Apple account.
Now, let’s move on to the editing process for any other contact. Pick an image from your phone’s gallery, zoom in or out to best fit the round frame, and tap on the Choose option in the bottom-right corner of the screen.

Step 4: On the next page, you will get to choose from 12 photographic filter styles to jazz up the thumbnail image. Pick one that looks the best and select the blue Next button.

Step 5: On the following page, you will see a preview of the what the full-screen Contact Poster looks like, with the same image that has been used for generating the round thumbnail.
If you like what you see, click on the blue Update button. But if you want a different image to appear on the full-screen Contact Poster, select the option below it that says Choose a Different Poster.
If you pick the latter option, you will land on the actual Contact Poster editing page that looks like this:

Step 6: On the editing page, tap on the Image option at the bottom of the screen. Once again, you can choose to keep things simple with a simple monogram design for the initials, or you can have some fun with a representative emoji.
When selecting an image, pick a good photo, because it gives you more space for playing around with the overall style and other elements appearing on the Contact Poster.
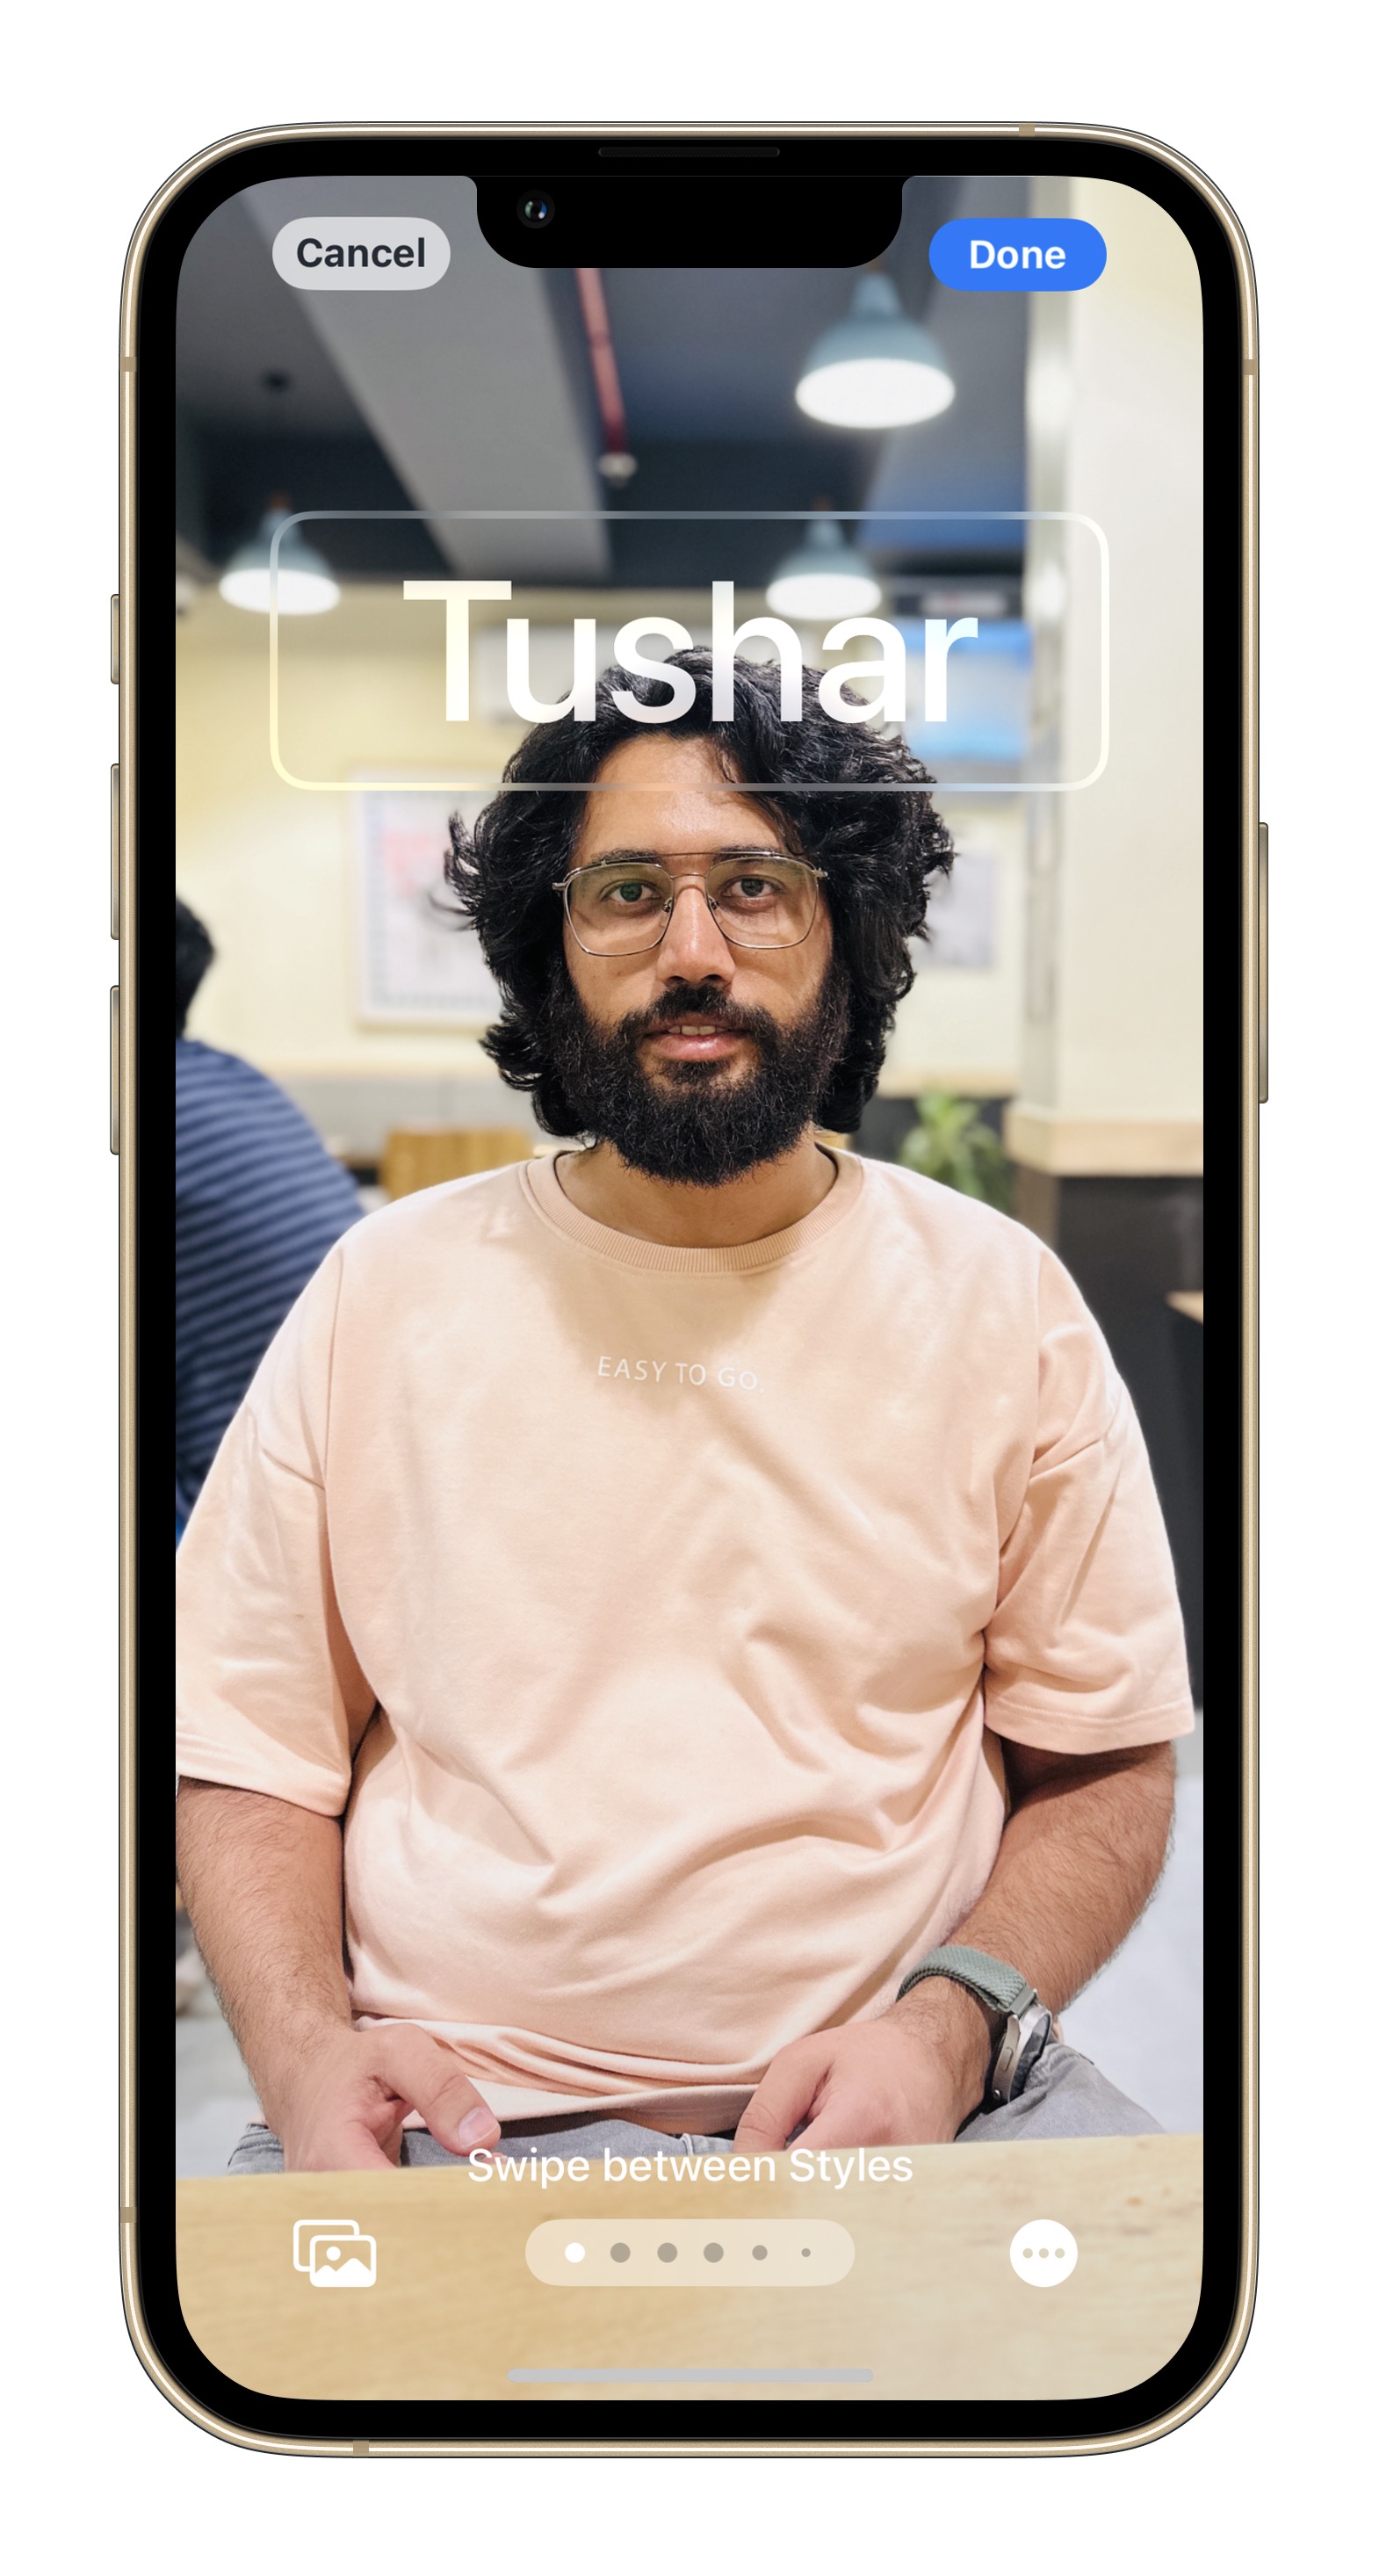
Step 7: Once you’ve decided to go with a picture, you can pinch or span with your fingers to get the best full-screen view of the contact’s face or full-body preview.
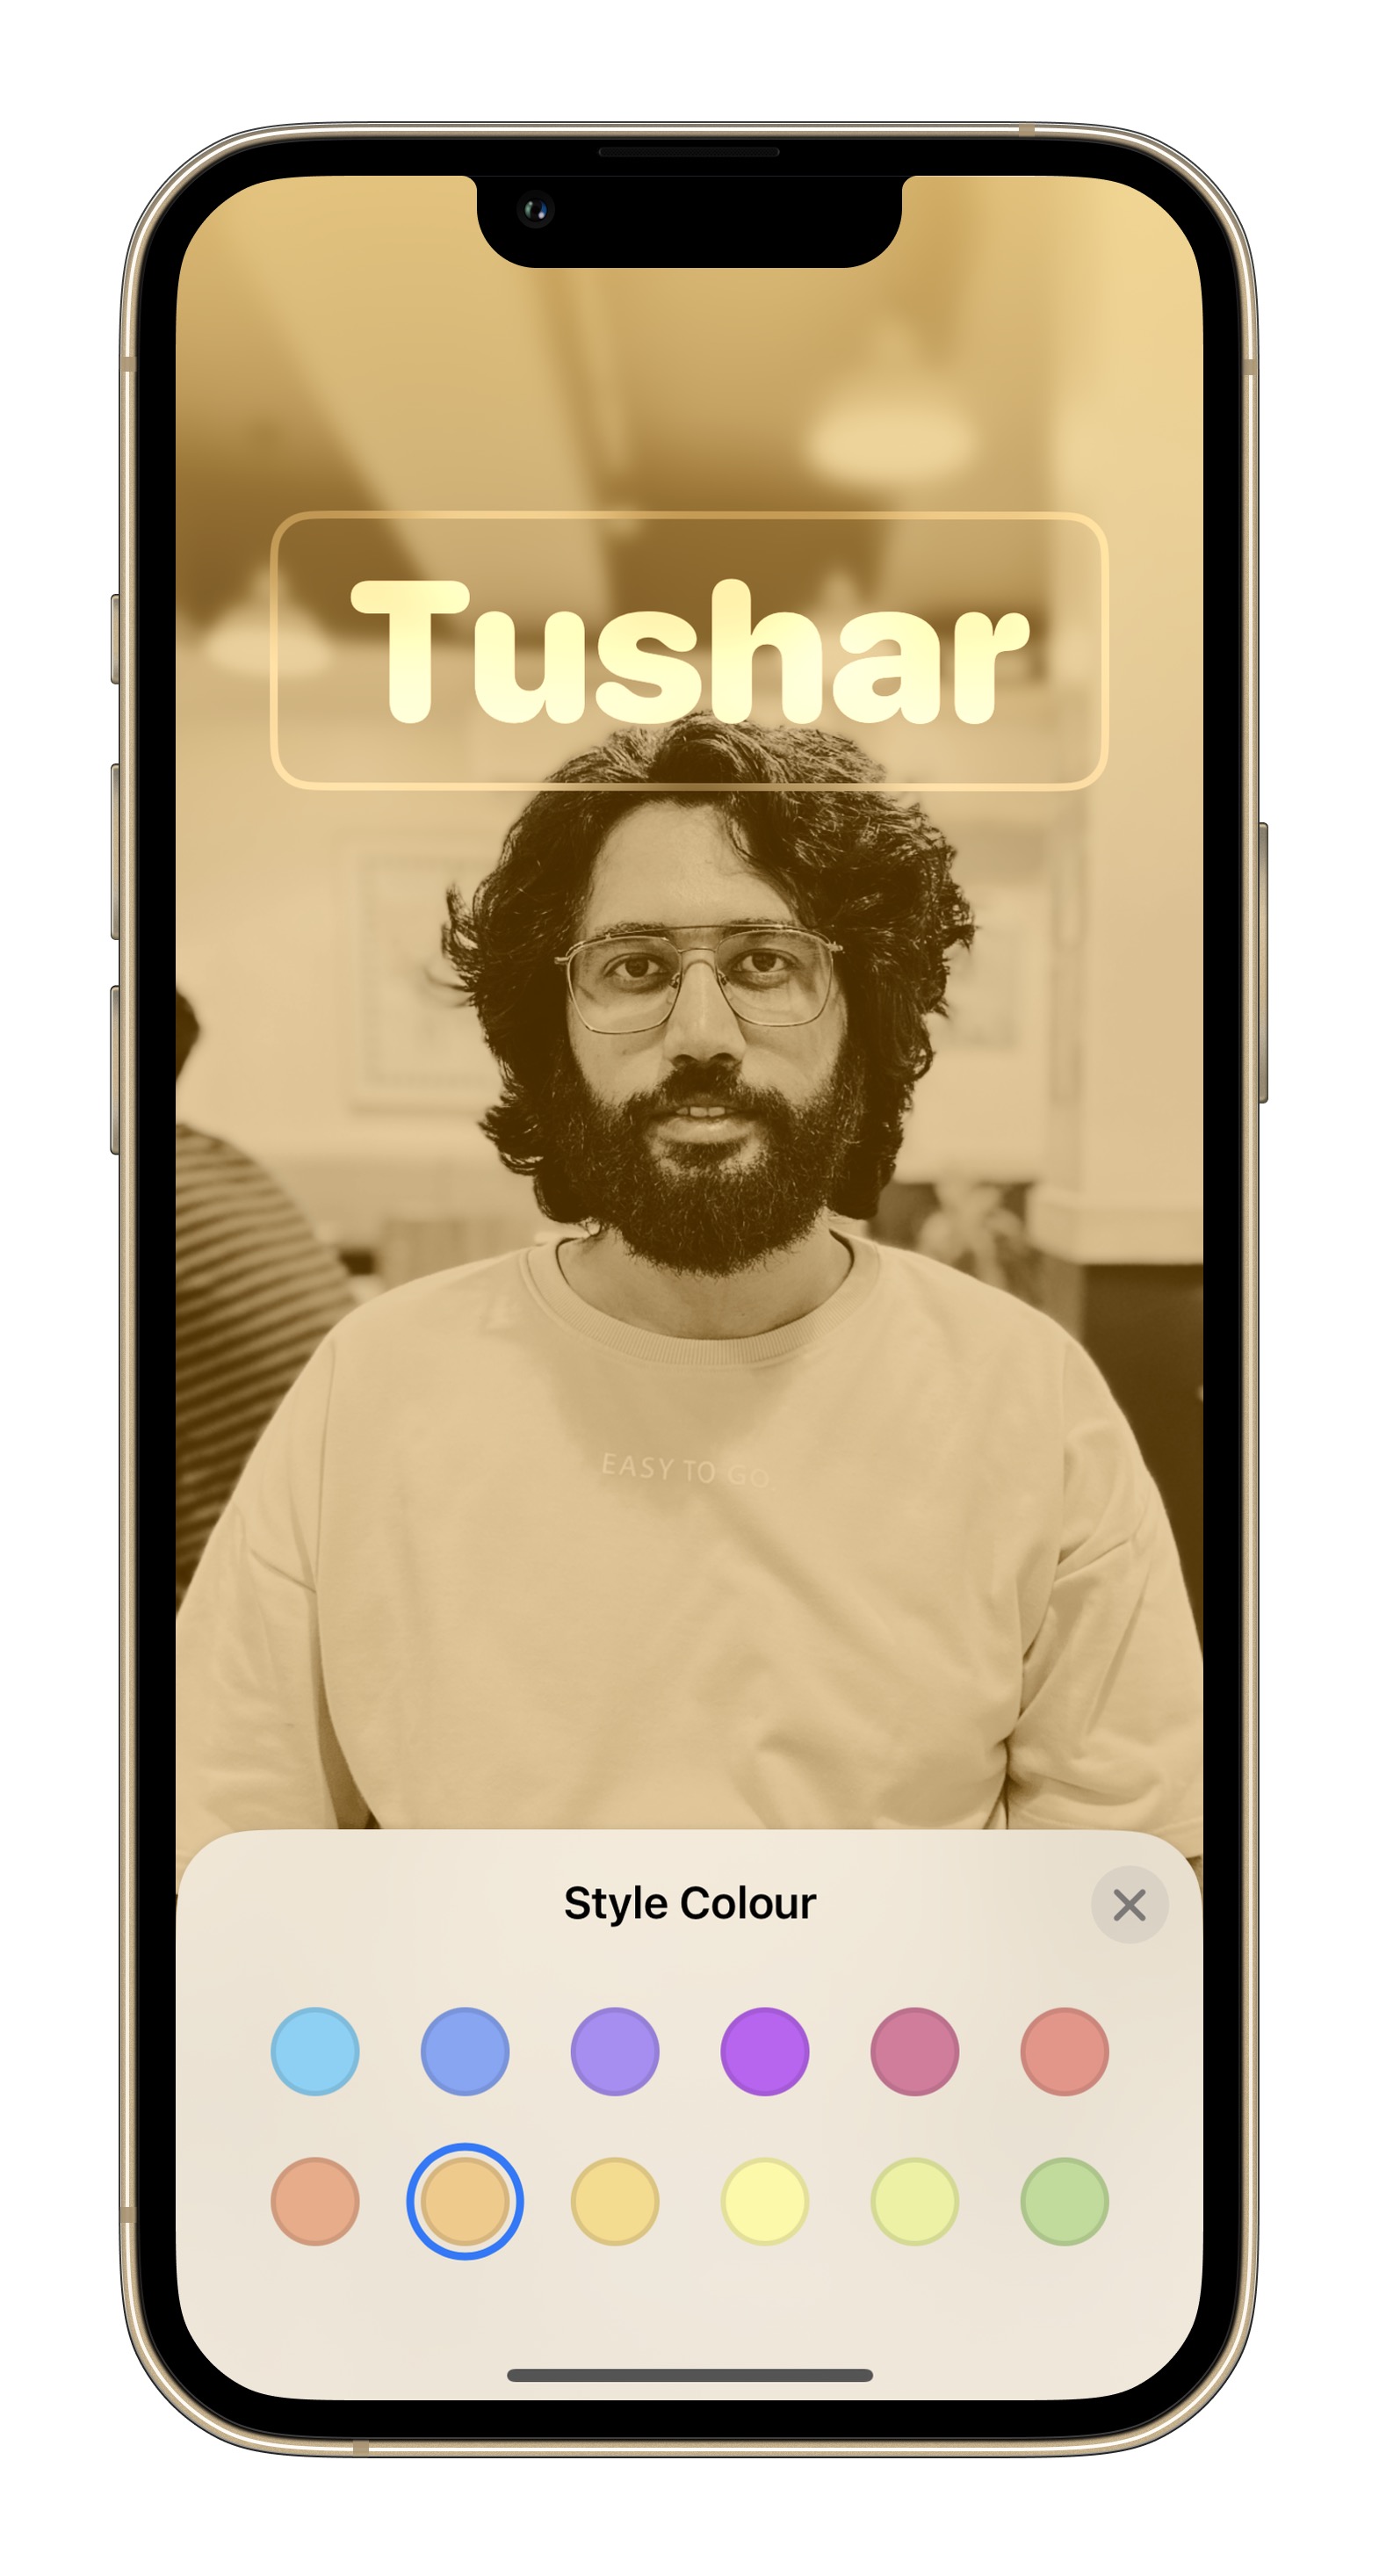
Once the adjustment is done, you can swipe right to pick between nine styles that include duo-tone, overprint, gradient, and more. Depending on the effect you like, you can adjust the style tone, gradient, or the color saturation strength.
You can also pick the color tone and even apply Depth Effect for some of them relative to the name banner appearing at the top.
Step 8: Next, you can experiment with the text styling in the name banner at the top. Just tap in the text box flashing the contact name.
You can choose between four fonts, adjust the text thickness on a scale, and then decide on the right color.
Instead of picking a solid color, we suggest that you pick the very first option in the color tray. This one picks up after the image’s color tone and subtly melds with the entire color profile by using a similar shade.

Step 9: Once you’re done with the text and image styling, hit the blue, pill-shaped Done button in the top-right corner of the screen. You will now see a preview of what the final Contact Poster looks like.
You can go back to make further edits to nail the exact look that you want, or you tap on the Continue button at the bottom of the screen to save it.

Step 10: Once all the editing is done, you will see a final view of the Contact Poster, as depicted in the image below. Of course, you can always go back and retouch it to get the desired look.

Nadeem Sarwar / DigitalTrends
Privacy controls for Contact Posters
After you’re done setting up your Contact Poster, you can choose to share it with everyone, keep it locked to your contacts, or disable sharing details like your name and photo.
Step 1: All you need to do take control of your Contact Poster is open your contact page, tap on the Contact Photo & Poster option, and tap the toggle that says Name & Photo Sharing. As far as sharing goes, it depends on your preference.
Step 2: Tap on the Share Automatically option, and then pick between Contacts Only and Always Ask to decide if you are OK with sharing your Contact Poster with all acquaintances in your contact list.
Also, it’s worth noting that your contacts also have to update the contact photo and poster sharing settings on their phone and pick between automatic and ask-first options to see your Contact Poster.
It might seem inconvenient, but it’s a neat privacy measure that offers two levels of controls over who can see your Contact Poster, since it contains media that might to be sensitive or personal in nature.
We have spent our fair share of time customizing the Contact Posters for friends and family members. In some cases, we’ve even asked friends to send flattering photos so that we have a good canvas to work with when creating their Contact Poster.
You can even color-code Contact Posters, using zesty bright colors for friends, and more understated light blue tones for professional contacts. It might seem like a self-indulgent exercise, but these neat little customizability options can truly let you express your digital preferences.
Editors’ Recommendations
Source link